
There are few things more satisfying than walking to my coop and collecting a handful of warm, freshly laid eggs. The gentle clucking of a happy flock is the perfect soundtrack for a simpler life. For many, bringing home chickens is the first real step towards their homesteading dream. For us, we’d been homesteading for years–decades even–but getting chickens made it finally feel like a real homestead.
If you’re feeling that pull but are intimidated by the details, take a deep breath. You’ve come to the right place. While it seems like a lot, getting started with backyard chickens is completely manageable. This guide will walk you through the essential first steps, from planning to bringing home your first chicks.
Step 1: Before you get a single chick (the prep work)
The most successful chicken keepers do their homework first. A little planning now prevents major headaches later.
- Check your local laws: This is the absolute first thing you must do. Check your town or county ordinances and, if applicable, your HOA rules. Are you allowed to have chickens? How many? Are roosters permitted (usually not in suburban areas)? Are there rules about how far the coop must be from property lines? A quick search for “[Your Town Name] chicken ordinance” is a good place to start.
- Consider your goals: Why do you want chickens? Your answer will shape your flock. For a steady supply of eggs for your family, you’ll want reliable laying breeds. If you see them more as garden pets that provide pest control, you might choose smaller, friendlier bantam breeds.
- Decide on flock size: Chickens are social animals and need to live in a flock; you should never have just one. A minimum of three is best. For a family of four, 3 to 5 hens will provide a steady supply of eggs (a good hen lays about 5-6 eggs a week in her prime). It’s always wise to start smaller than you think—chicken math is real, and it’s easy to expand later!
A note on timing: It’s currently early August. This is the perfect time to plan, build your coop, and get your supplies in order for spring chicks. While you can raise chicks in the fall, it’s more challenging for beginners due to the cold weather. Aim to have everything ready to order your chicks in February or March for a spring arrival.
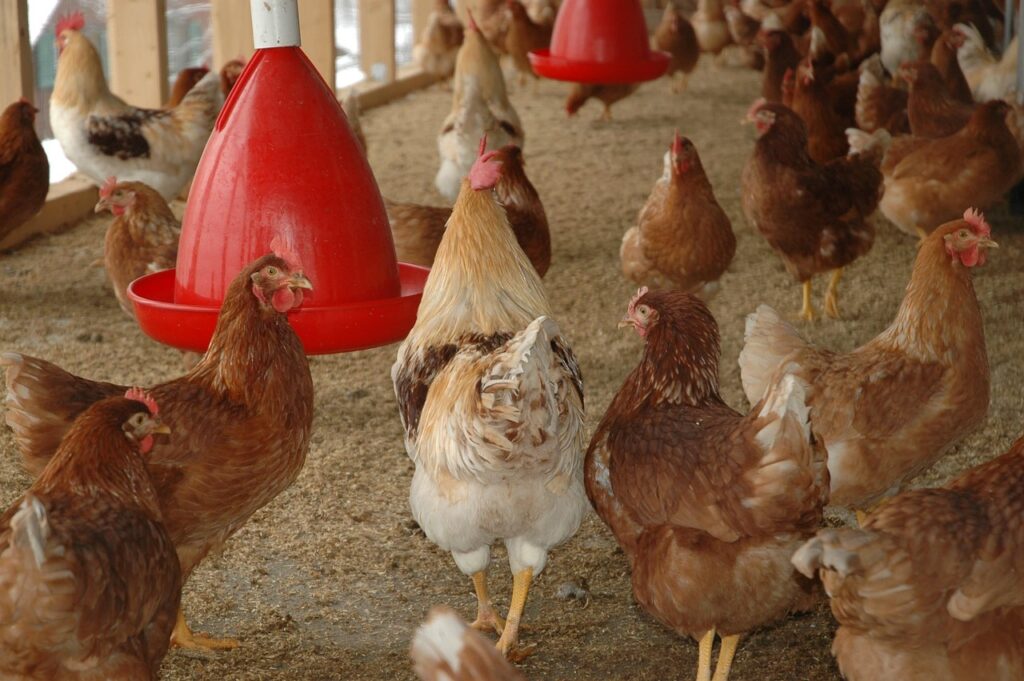
Step 2: The coop and run (your flock’s home)
A chicken’s home needs to be two things above all else: safe and dry.
- Security is everything: Your number one job is to protect your flock from predators. Raccoons, hawks, foxes, dogs, and even weasels can be a threat. Your coop needs to be a fortress. This means using hardware cloth (with ½ inch squares or smaller) on all windows and vents, not chicken wire. Raccoons can tear through chicken wire like it’s paper. Ensure the coop has a solid floor and a latch that can’t be cleverly opened by nimble paws.
- Space requirements: A happy chicken is one with enough space.
- Inside the coop: Aim for at least 3-4 square feet per bird.
- Outside in the run: Aim for at least 8-10 square feet per bird. More is always better and reduces bullying and boredom.
- Essential coop features:
- Roosting bars: Chickens sleep on roosts, not on the floor. Provide 8-10 inches of roosting bar per chicken, and place the bars higher than the nesting boxes. Simple 2x4s with the wide side up work great.
- Nesting boxes: You’ll need one box for every 4-5 hens. They’ll likely all share one favorite, but it’s good to provide options. Make them dark, cozy, and about 12x12x12 inches.
- Good ventilation: This is critical for respiratory health. Vents should be high up on the coop walls, above the roosts, to let ammonia and moisture escape without creating a draft on the birds.
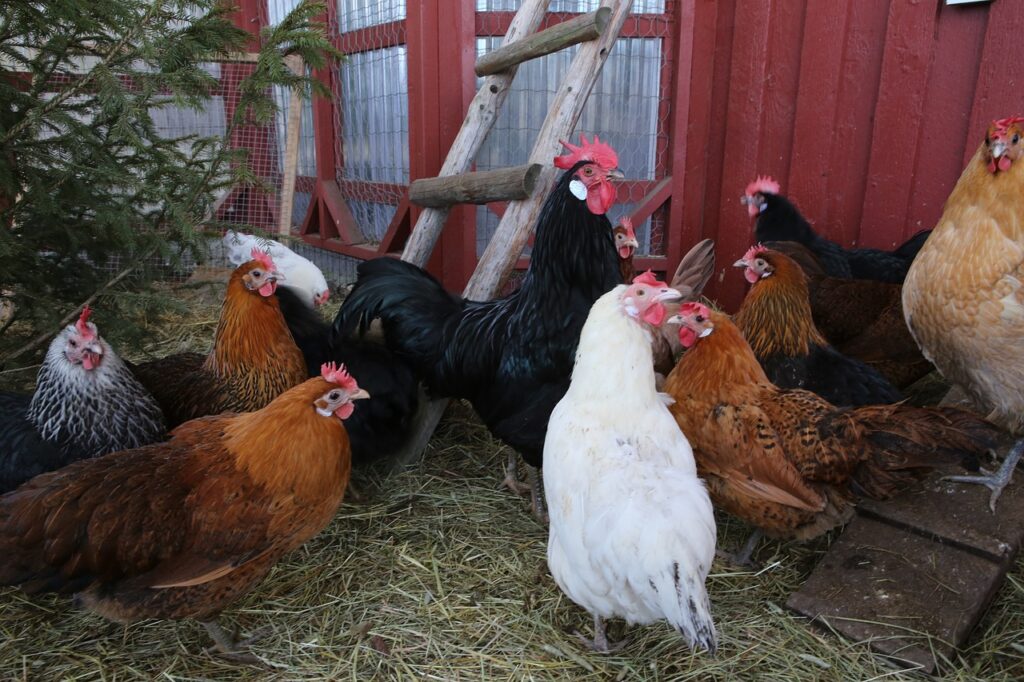
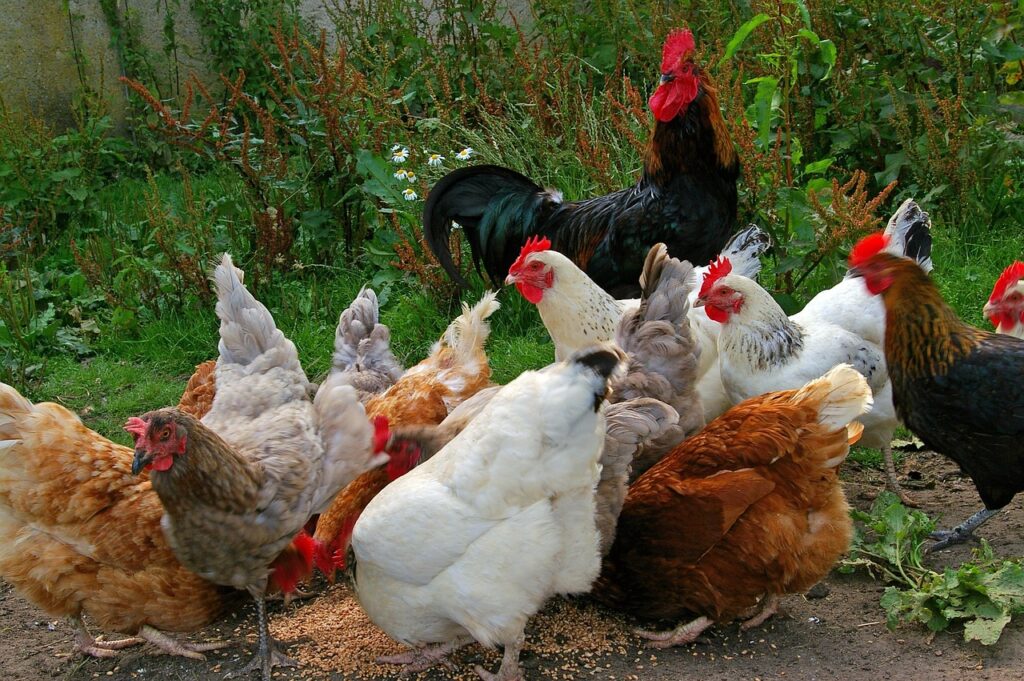
Step 3: Choose your chickens
Now for the fun part! There are hundreds of breeds, but some are particularly well-suited for beginners.
- Beginner-friendly breeds: For a calm temperament and reliable egg-laying, you can’t go wrong with Buff Orpingtons, Australorps, Barred Rocks, or Easter Eggers (who lay beautiful blue or green eggs). They are known for being docile, hardy, and good layers.
- Chicks vs. pullets: You can start with day-old chicks or with pullets (young hens that are a few months old).
- Chicks: Cheaper, bond with you from the start, but require a special setup called a brooder for the first 6-8 weeks.
- Pullets: More expensive and you miss the cute fluffy stage, but they are hardier and will start laying eggs much sooner, often within a month or two of bringing them home. For a true beginner, starting with pullets can be an easier entry point.
Step 4: The brooder (for chicks)
If you start with chicks, you’ll need a brooder for their first 6-8 weeks. This is simply a warm, safe enclosure. A large cardboard box, a stock tank, or a large plastic tote all work well.
Your brooder needs four things:
- A heat source: A heat plate is the safest option, but a red heat lamp also works. Start the temperature at 95°F (35∘C) for the first week and decrease it by 5 degrees each week.
- Bedding: Use pine shavings (never cedar, as the oils are toxic to chicks).
- Chick feeder and waterer: Special chick-sized versions prevent them from drowning or making a huge mess.
- Chick starter feed: This is a specially formulated, high-protein crumble. You can choose medicated or unmedicated; medicated feed helps protect against coccidiosis, a common and deadly intestinal parasite in chicks.
The daily rhythm
Once your chickens are grown and in their coop, the daily routine is simple and rewarding.
- Morning: Let them out into their secure run. Give them fresh food and clean water.
- Afternoon: Collect the eggs! This is the best part.
- Evening: Make sure they have all returned to the coop and securely lock them in for the night.
That’s it. You’ve taken the first step on an incredible, rewarding journey. The work you put in now will pay you back a hundred times over in delicious eggs, fantastic fertilizer for your garden, and endless entertainment.
What’s the one question or concern holding you back from getting chickens? Ask away in the comments below. We’re all here to learn from each other.
Leave a Reply